> ## Documentation Index
> Fetch the complete documentation index at: https://docs.maddergames.com/llms.txt
> Use this file to discover all available pages before exploring further.
# Setup
> Creating your first Madder game in Unity
## Set Up Your Unity Project
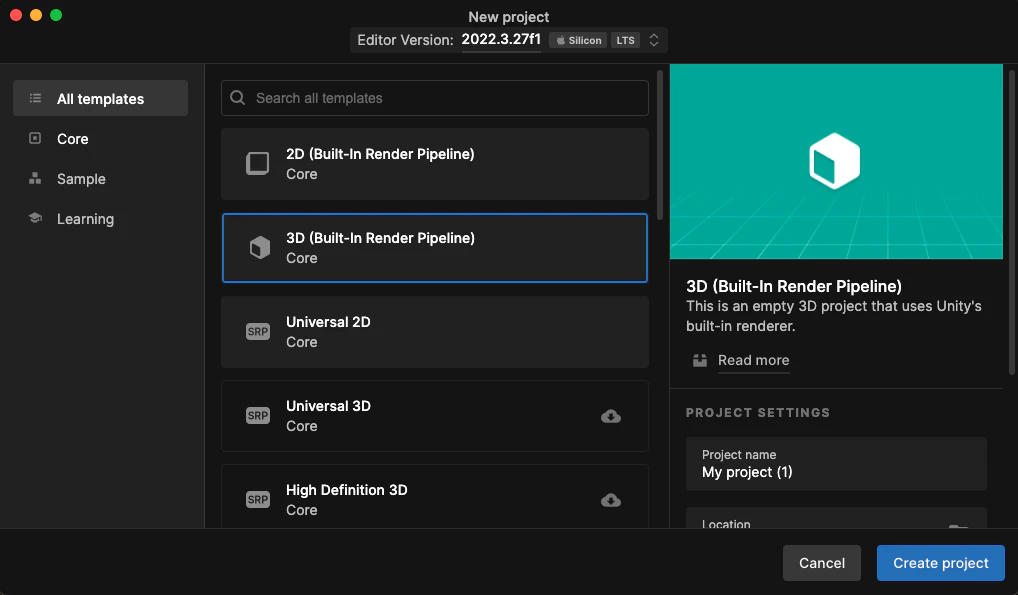
Create a new Unity project in the Unity Hub:
 Madder is compatible with Unity 2019.4 LTS and newer.
### Install the Madder Starter Pack
Open the Unity Package Manager `Window > Package Manager` and add the Madder Starter Pack using the following git URL:
```markdown theme={null}
https://github.com/maddergames/madder-starter-package.git
```
Madder requires the new Unity Input System to be installed, but you do not have to use it. For this tutorial, we will
assume you are using the new Unity Input System.
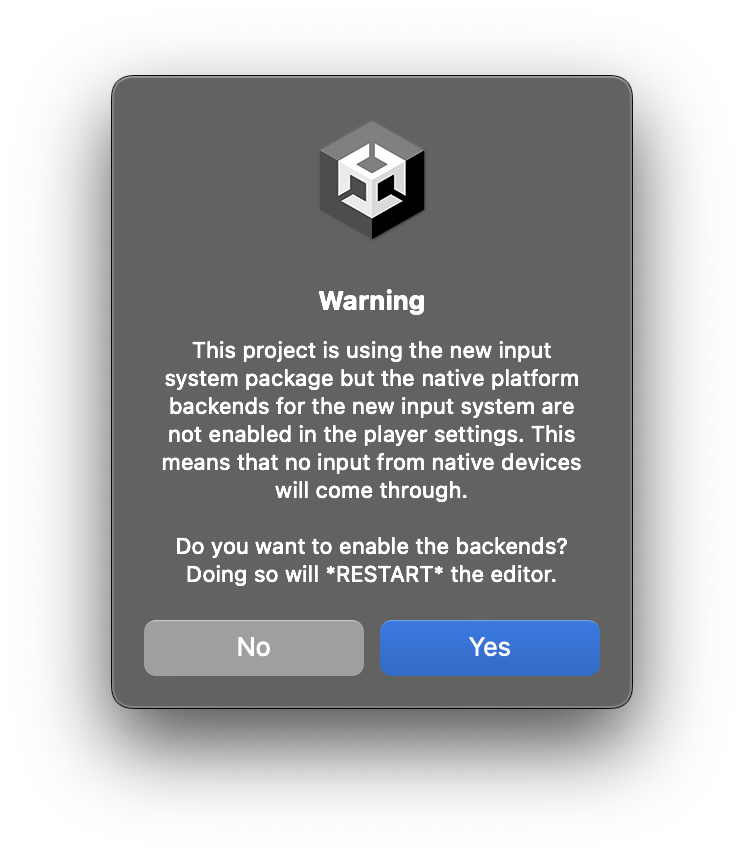
A popup will appear asking you to enable the backends for the Input System--click "Yes". Your project will reload.
Madder is compatible with Unity 2019.4 LTS and newer.
### Install the Madder Starter Pack
Open the Unity Package Manager `Window > Package Manager` and add the Madder Starter Pack using the following git URL:
```markdown theme={null}
https://github.com/maddergames/madder-starter-package.git
```
Madder requires the new Unity Input System to be installed, but you do not have to use it. For this tutorial, we will
assume you are using the new Unity Input System.
A popup will appear asking you to enable the backends for the Input System--click "Yes". Your project will reload.